Tag: Ansel Adams

How To Shoot and Edit Black-and-White Wildlife Photos

This is the third of four posts about shooting and editing wildlife photos for different creative results on safari. We’ll look at high-key, low-key, black-and-white, backlit & silhouette. Each style offers a unique way to see and a different set of choices, both when you’re out in the field and when you’re editing. While I’m focusing on a South African safari, these ideas work anywhere you’re photographing wild animals.

I use Canon equipment for all my photos, but I’ve tried to avoid using brand-specific terms wherever possible. My main post-processing tools are Lightroom Classic and Photoshop, and my guide starts from there, but I kept the details general, and they would apply to most post-processing software.

Today, we’ll continue with the black-and-white style.

Portrait of a lion (Panthera leo) in black-and-white
Lion, South Africa

I have to admit something about black-and-white photography. For a long time, I only used it to save photos that didn’t work in color. If the sky looked dull, the background was distracting, or the colors just clashed, I would switch to monochrome. It was always a last-minute fix, not a choice I made from the start. The photos turned out okay, and sometimes even better than okay, but they never felt quite right because I was working in reverse.

Everything changed when I began studying photographers who chose black-and-white from the beginning, not as a backup. Ansel AdamsNick BrandtArt Wolfe, to name just a few. What stood out wasn’t just the lack of color, but a special focus on light, shape, and texture that color photos don’t always require. These photographers weren’t just taking color away; they were seeing the world without it from the very beginning.

This difference, between taking color out and not needing it at all, is what I want to talk about here. It sets the stage for everything that follows.

This photo depicts a young lioness in the midst of a hunt on a sunlit savanna. Her lean, muscular frame is poised low to the ground, with her coat blending into the dry grass as she stalks prey. Her eyes are intensely focused, ears slightly back, and her mouth is open, revealing sharp teeth.
Lioness, South Africa

Why Monochrome Is a Different Way of Seeing

Color does a lot in a photo. It helps the subject stand out, sets the mood, catches your attention, and even tells you about the species, season, or time of day. When you take color away, all that work shifts to other things, like how the light falls, the range of tones, the shapes in the picture, and how they relate to each other.

That’s why turning a so-so color photo into black-and-white rarely works well. If color was doing most of the work, removing it leaves nothing behind. A good black-and-white photo needs to be strong in the ways that matter for monochrome, and those qualities have to be there in the scene itself, not added later.

When you’re on safari, you have to start asking new questions when you see something interesting. Instead of just asking if the light is good, ask if the scene has what black-and-white needs. Is there enough contrast between the subject and the background, even without color? Does the light bring out shapes and textures? Is there something graphic in the composition, like a bold silhouette, a repeating pattern, or a strong line, that will stand out without color?

These questions are tougher than those you ask with color photography, and they take some practice. But the photos you get are different in more ways than just color. That difference is important, especially when we start talking about light.

Close-up of a lioness in black-and-white

Lioness, South Africa

The Light That Works 

Not every kind of light works the same in black-and-white. The best light for striking black-and-white wildlife photos is often the same light that makes color photos dramatic, but for different reasons. I’ll explain why as we look at different types of light.

  • Side light from the low sun in the early morning or late afternoon creates strong shadows that show off a subject’s shape. On a lion’s mane, an elephant’s wrinkles, or a bird’s feathers, this kind of light creates rich tones that look great in black-and-white. The texture you see isn’t added later, it’s captured by the light itself.
  • Backlighting and rim lighting work in their own way, but they’re just as effective. When a subject is outlined by bright light against a dark background, it creates a bold, graphic look that suits black-and-white perfectly. The color of the rim light doesn’t matter; what counts is how the bright edge stands out against the dark.
  • Overcast light, which I’ve discussed before when talking about flat light, is especially useful for black-and-white portraits. This soft, even light shows off every detail and texture on your subject. Close-up portraits of animals—where you can see every hair and whisker—often look better in black-and-white because color can distract from the texture that overcast light brings out.
  • Stormy skies also work well. The contrast between a bright subject and a dark, heavy sky stands out even more in black-and-white. Clouds that look dramatic in color can feel truly powerful in monochrome.

A Tool Worth Using in the Field

Most new mirrorless cameras have a monochrome preview mode. This setting lets you see the scene in black-and-white through the viewfinder and on the screen, but the camera still saves a full-color RAW file. The RAW file keeps all the color data for editing later, but you get to see the scene in black-and-white as you shoot.

This is a great tool for learning to see in black-and-white, but many people don’t use it enough. With the monochrome preview on, you can check the contrast between your subject and the background before you take the shot. You can see if the light brings out shapes and textures, and decide if the sky helps or hurts the picture based on tone, not color. This way, you can decide about black-and-white right there in the field, not just later on your computer.

Try leaving the monochrome preview on for a whole game drive, especially on days when the light isn’t great, when it’s overcast or flat, and not what you wanted. You might discover that without color to distract you, you start to see things in a new way.

In the Field

Besides using the preview mode, there are a few camera settings you should adjust if you plan to turn your photos into black-and-white later.

Zebra, South Africa

  • Expose to the right, just like you would for high-key shots. Move the histogram as far right as you can without losing detail in the subject. A well-exposed RAW file gives you more tones to work with when you convert to black-and-white. While monochrome can forgive some mistakes, it’s best to start with a clean, well-exposed image.
  • For autofocus, Animal Detection works well with black-and-white photos. The contrast between a well-lit subject and a dark background helps the autofocus system find clear edges. Take advantage of this feature.
  • One setting to switch off is Auto Lighting Optimizer, for the same reasons that apply across all the posts in this series. It compresses the tonal range, the very range you will need intact for a meaningful conversion.

Post-Processing

The most important tip for editing black-and-white photos: don’t just desaturate the image or switch to greyscale. Both methods throw away the color channel information you need to control how each color turns into a shade of grey.

The right way is to use the Black and White panel in Lightroom or the Black and White adjustment layer in Photoshop. These tools let you control how each color channel appears in greyscale. This isn’t just a technical detail, it’s what separates a flat, lifeless image from one with real depth and contrast.

In Lightroom’s Black and White panel, eight color sliders control how each color in the original image is translated to grey. The ones that matter most for safari photography are these:

The image features a detailed, black and white, close-up depiction of a giraffe's head and neck. The giraffe is positioned in the lower left of the frame, with its head tilted and turned towards the viewer, creating a comical expression. Its mouth is open, with its tongue visible and curled upwards, and its lips appear to be puckered or pursed, giving the impression of it making a silly face or sticking its tongue out.
Giraffe, South Africa
  • The Green slider affects vegetation like grass, leaves, and bushes. If you move it down, the background gets much darker, which helps your warm-toned subject stand out from the green background. This is one of the best adjustments for safari black-and-white photos, and you can’t get this effect by just desaturating.
  • The Blue slider controls the sky. Move it down, and the sky gets much darker, just like using red or orange filters in film photography. Clouds that were hard to see in color become bold shapes against the dark sky. Even a flat, overcast sky can look more dramatic. 
  • The Orange and Yellow sliders adjust warm-toned subjects like lions, cheetahs, sandy-colored antelopes, and golden grasses. Raise these sliders to make warm subjects stand out against a background darkened with the green and blue sliders.

This separation between subject and background in monochrome works like a well-exposed color photo: the subject is clear, the background supports it, and nothing distracts.


Once you’ve converted the image, go back to the Basic panel and take another look. You’ll usually need to boost Contrast, Clarity, and Texture more in black-and-white than in color. Black-and-white photos handle these changes well, and the result is an image with rich tones and lots of detail.

For the final touches, try dodging and burning. In Photoshop, use a 50% grey Overlay layer and apply the Dodge and Burn tools at low opacity, building up the effect gradually. This method comes from traditional darkroom work and has been adapted for digital editing. It takes time and patience, but it gives results you can’t get with global adjustments. If the photo is important, it’s worth the effort.


The question I began with, what’s left when you remove color, actually has a clear answer. What’s left is light. Not light as warmth, color, or mood, but light as information: how it falls on a surface, the shadows it makes, the edges it shapes, and the textures it shows. That’s what black-and-white photography explores. At its core, it’s about studying light without the usual distractions.

That is a narrower subject than color photography. It is also, in the right hands, a more demanding focus. This focus is narrower than color photography, but in the right hands, it’s also more challenging and more revealing.


Related Posts


Love my work? Support my journey by buying me a coffee or sharing it on your preferred social network. And don’t forget to swing by my online shop to check out my latest prints and gifts. Thank you 🙏 !

Follow me on Instagram | Facebook | Threads | LinkedIn | Tumblr | X | Buy Me A Coffee 


A Photographer Is Not Someone Who Takes Photos

The image features a close-up of a single blue tit perched on a rough, brown twig. The bird is positioned in the right half of the frame, facing left. Its plumage is strikingly colorful, with a bright yellow breast and belly, blue wings and tail feathers, and a distinctive blue cap marked by white cheeks and a thin black eye stripe.

What I saw…

Recently, someone asked me if I thought phone photographers were “real” photographers. It was an honest question, not meant to provoke. I paused, not because I was unsure, but because I wanted to give a thoughtful answer.

I’ve noticed that today, almost everyone is called a “photographer.” Billions of people have a camera in their pocket and use it every day. Some even create beautiful images. So what sets them apart from someone like me, who left a twenty-year corporate career to do this full-time?

What really sets a photographer apart isn’t the equipment or even technical skill. It’s the intent behind the photo.

Before I press the shutter button, there’s always a moment, a thought, a question I’m trying to answer, or a feeling I want to capture and explore. I’m not just recording that something exists. I’m making a statement about what I find remarkable and what I want you to notice in what I saw.

Thoreau said it better than I can: “The question is not what you look at, but what you see.” He was talking about walking in nature, but it fits photography perfectly. Anyone can look, but not everyone truly sees.

That’s why the “just point and shoot” comment misses the point so completely. It’s not really about pointing or shooting. It’s about everything that happens before: choosing the composition, waiting for the right light, sometimes for hours or even days, and holding back from pressing the shutter until the moment feels right.

Good photographs are created, not just taken.

This reminds me of something writer Annie Dillard said about her work: she didn’t write to record what she already knew, but to discover what she thought. In a similar way, many photographers head out with only a vague idea. The photo they end up with often surprises them and reveals something new about what they were really seeing. The camera doesn’t just capture reality; it captures your relationship with it.

The image captures a small, vibrantly colored blue tit perched on a branch against a clean white background of snow.

… and what I photographed.

That relationship is what makes it art.

A phone can create art, just like a point-and-shoot camera from fifteen years ago. An expensive, medium-format camera might not. Gear isn’t the key, although some tools help you make certain images. Technical ability and artistic vision aren’t the same, but we often mix them up.

With all this in mind, it’s easy to see why people get confused. Modern cameras have made it hard to tell the difference between a quick snapshot and a carefully planned photo. A sharp, well-composed phone picture and a thoughtful photograph can look the same as small thumbnails. Noticing the difference takes time, attention, and a special way of seeing. Most people scrolling quickly through tons of images don’t have that time. Sometimes, I don’t either.

But the difference is still real. It comes from everything that happens before you press the shutter.

A photographer is an artist who uses a camera as a tool to create work guided by artistic vision. The goal isn’t just to record, but to interpret.

Anyone can take a photograph, and that’s a good thing; it’s a pleasure open to everyone. But making a photograph is different. It means slowing down, thinking before you click, asking yourself what you want to say, and deciding if this image, frame, light, or moment expresses it. As Ansel Adams put it, “A photograph is not taken, it’s made.

That’s the real work. You won’t find it in the EXIF data, but you can see it in the image itself.


Related Posts


Love my work? Support my journey by buying me a coffee or sharing it on your preferred social network. And don’t forget to swing by my online shop to check out my latest prints and gifts. Thank you 🙏 !

Follow me on Instagram | Facebook | Threads | LinkedIn | Tumblr | X | Buy Me A Coffee 


A Great Photograph

Eurasian tree sparrow (Passer montanus)

A great photograph is one that fully expresses what one feels, in the deepest sense, about what is being photographed.

Ansel Adams


Ansel Adams
 (1902-1984), American landscape photographer and environmentalist known for his black-and-white images of the American West.


To read more quotes, click here. To read more on photography, click here.

I Shall Be Content with Silence

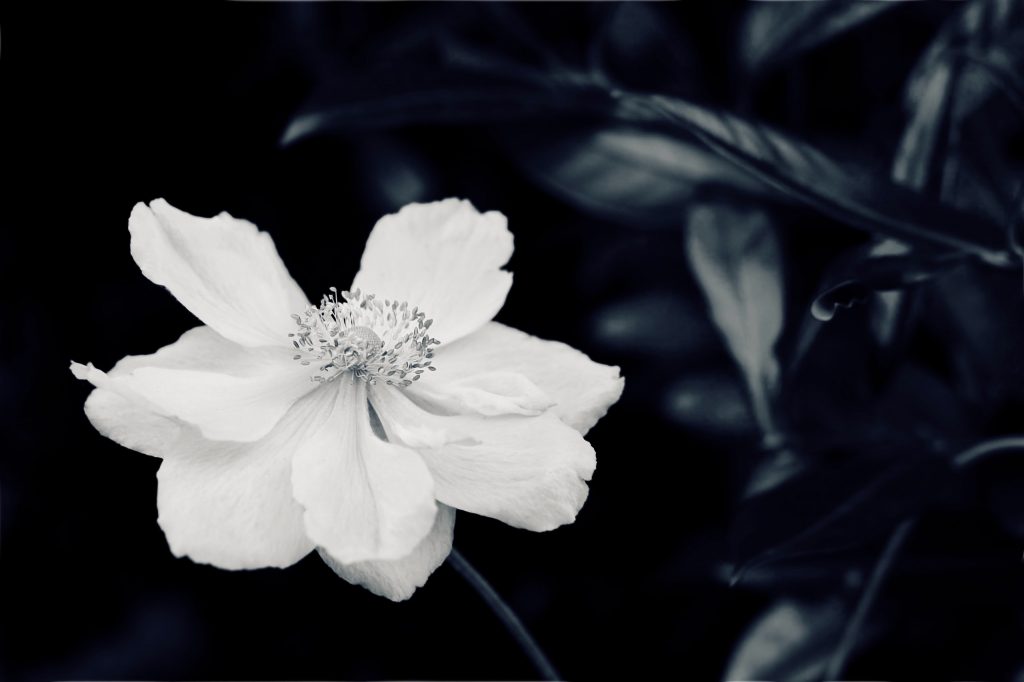
Close up of a Japanese anemone. Black and white photograph by Mihaela Limberea.

When words become unclear, I shall focus with photographs. When images become inadequate, I shall be content with silence.

Ansel Adams (1902-1984), American landscape photographer and environmentalist known for his black-and-white images of the American West.


To read more quotes, click here. To read more on photography, click here.